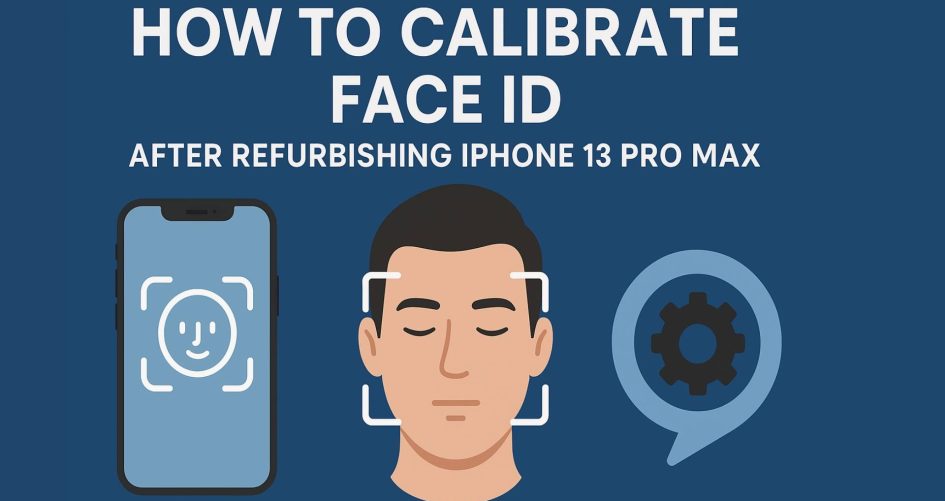
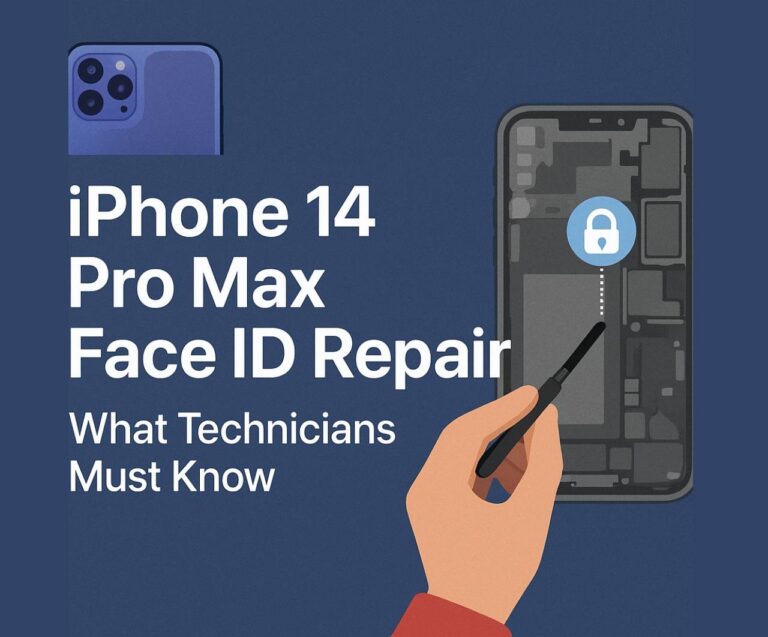
Refurbishing the iPhone 13 Pro Max involves precision, especially when dealing with biometric features. One of the most challenging and critical tasks in any iPhone 13 Pro Max refurb is successfully completing a Face ID repair — and that hinges on handling the TrueDepth module correctly.
Whether you’re restoring resale units or scaling a refurbishing operation, understanding how to recalibrate Face ID on the iPhone 13 Pro Max refurb is essential to maintaining functionality, consumer trust, and resale value. Know more.
1. Why Face ID Repair Is So Complex on iPhone 13 Pro Max
Apple’s TrueDepth module is a highly integrated part of the iPhone’s Face ID system. Unlike previous models, the iPhone 13 Pro Max refurb devices use a single flex cable design that combines the infrared camera, dot projector, flood illuminator, proximity sensor, and ambient light sensor into one sealed ecosystem.
This design makes Face ID repair risky — if any part of the TrueDepth module is damaged or misaligned during disassembly, Face ID will fail completely, and iOS will block its calibration.
Refurb professionals must know:
- What can and can’t be replaced
- How to preserve the original TrueDepth module
- How to recalibrate safely without triggering a security lockout
2. Disassembly Tips for iPhone 13 Pro Max Refurb
Before beginning Face ID repair, prep the device like a pro. Here’s how:
- Power off the device and remove the SIM tray
- Use a heat pad (~85°C for 2 minutes) to loosen screen adhesive
- Lift the screen carefully from the side (not the bottom) to avoid stressing the TrueDepth module area
- Disconnect battery before anything else
- Use plastic spudgers and ESD-safe tools to prevent static damage
Always log the device’s IMEI and serial before starting any iPhone 13 Pro Max refurb for traceability.
3. Understanding the Face ID Components
Here’s a breakdown of what makes up the TrueDepth module in an iPhone 13 Pro Max refurb device:
| Component | Function |
| Dot Projector | Maps 3D facial structure |
| Infrared Camera | Captures 3D image |
| Flood Illuminator | Helps Face ID work in the dark |
| Proximity Sensor | Detects when the phone is near your face |
| Ambient Light Sensor | Adjusts brightness & exposure |
Only the front camera is replaceable. The rest of the TrueDepth module must remain original for Face ID repair to succeed.
4. Transferring the Original TrueDepth Module
When working on an iPhone 13 Pro Max refurb, transferring the TrueDepth module requires the utmost care. Here’s how:
Step 1: Heat the Screen Frame
Softens glue holding the sensor assembly.
Step 2: Use a Microscope or Magnifier
The flex cables and solder joints are delicate. Zoom in to avoid damage.
Step 3: Gently Pry the Sensor Bracket
Lift the entire module gently, avoiding torque that could fracture the IR camera or dot projector.
Step 4: Transfer to New Screen
Ensure alignment on the replacement screen’s bracket. The Face ID repair will fail if the IR or flood illuminator is slightly misaligned.
5. Calibration: How to Restore Face ID Function
Now for the tricky part of the iPhone 13 Pro Max refurb — Face ID recalibration. Here’s what to do:
Option A: Apple Internal Tools (Only for Authorized Service Providers)
- Connect to Apple’s calibration tool via AST2
- Register the TrueDepth module
- Run diagnostics and test Face ID
Note: Most independent refurbishers won’t have access to this system.
Option B: Third-Party EEPROM Tools (Independent Repairers)
Use tools like JC V1S, QianLi iCopy, or Face ID Dot Matrix Programmer to clone EEPROM data from the original screen (if it’s broken) and sync it to the replacement:
- Read data from old display (must contain True Tone + Face ID data)
- Write to new display or TrueDepth module
- Reconnect and test
- Reboot phone and go to Settings > Face ID & Passcode > Set up
This restores Face ID on most iPhone 13 Pro Max refurb devices if the original TrueDepth module was preserved.
6. Common Errors and Fixes
| Error Message | Likely Cause | Fix |
| “Face ID is not available” | Damaged TrueDepth module or flex cable | Replace original module or resolder |
| “A problem was detected with the camera” | Misalignment or wrong EEPROM data | Re-clone or check connections |
| Can’t set up Face ID | Flood illuminator not recognized | Reposition module or resolder joint |
If calibration fails even with original parts, the TrueDepth module might be permanently damaged — requiring donor board-level repair, which is beyond most shops.
7. TrueDepth Module Handling Best Practices
To prevent Face ID failure during any iPhone 13 Pro Max refurb, always:
- Wear static gloves when touching TrueDepth module
- Avoid metal tools near IR components
- Never use alcohol or heat directly on sensors
- Align flood illuminator precisely
- Re-test Face ID after screen seal, not before (prevents pressure damage)
Professionals know that a successful Face ID repair often comes down to technique, not just tools.
8. Testing and Verifying Face ID Function
After replacing or transferring the TrueDepth module, use this testing sequence:
- Reconnect and boot the device
- Go to Settings > Face ID & Passcode
- Set up new Face ID
- Test with face at multiple angles and lighting levels
- Use in-app Face ID (e.g. App Store or Apple Pay) to confirm success
If the iPhone 13 Pro Max refurb passes all Face ID checks, it’s ready for market.
9. Documentation and Warranty for Resold Devices
Document every Face ID repair performed during an iPhone 13 Pro Max refurb to protect your business. Include:
- IMEI/serial
- Repair date
- Parts used (original or donor)
- Face ID status
- EEPROM logs (if applicable)
Offering a warranty (3–6 months) for Face ID functionality reassures buyers and boosts resale confidence.
10. Why Face ID Matters for Refurb Value
Skipping a Face ID repair or selling units with it disabled can reduce the retail value by 20–30%. Buyers expect a fully functional iPhone 13 Pro Max refurb, including secure biometric features.
A functional TrueDepth module is now just as critical as screen condition or battery health.
11. Where to Source Compatible Parts and Tools
Avoid cheap modules or fake sensor assemblies. Only OEM or carefully salvaged TrueDepth modules from donor boards will allow successful Face ID reactivation.
Recommended supply checklist:
- OEM TrueDepth module parts
- High-grade OLED screens with True Tone compatibility
- EEPROM cloning tools
- Thermal pads and clamps
- Anti-static gloves and microscope
Work with verified EU wholesalers or global refurb specialists that understand the complexity of iPhone 13 Pro Max refurb processes.
12. Conclusion: Get Face ID Right Every Time
Face ID on the iPhone 13 Pro Max refurb isn’t just a cosmetic feature — it’s a core security and UX element that buyers rely on. Handling the TrueDepth module with care, using correct EEPROM tools, and testing thoroughly ensures that your Face ID repair efforts stick.
In the growing competitive refurb market, the difference between a professional refurbisher and an amateur is the success rate on high-level repairs like this. Get it right, and your devices will command higher prices and lower return rates — a win all around. Know more.


