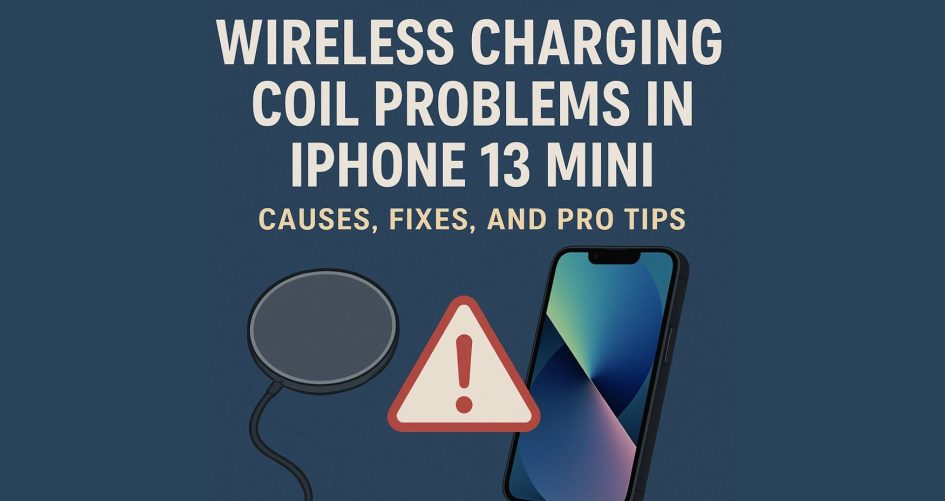
If you’ve been seeing issues with the iPhone 13 Mini coil, struggling with an inconsistent wireless charge fix, or needing to replace a damaged induction coil, you’re not alone. The compact design of the iPhone 13 Mini makes it vulnerable to specific coil-related faults. In this guide, we cover everything from diagnosis to step-by-step replacement, so you can handle iPhone 13 Mini coil problems with confidence—while performing a professional wireless charge fix using the right induction coil components. Know more.
1. Why the iPhone 13 Mini Coil Fails
The iPhone 13 Mini coil is a delicate copper-based induction coil mounted behind the back glass. It’s responsible for receiving electromagnetic energy from a Qi-compatible pad and converting it into usable charge.
Common Reasons for Coil Failure:
- Drop damage or internal shock causing induction coil fractures
- Poor-quality third-party wireless chargers
- Overheating during fast charging
- Manufacturing defects in refurbished units
A broken or misaligned iPhone 13 Mini coil disrupts wireless charging or stops it altogether, requiring a precise wireless charge fix using OEM-grade components.
2. Key Symptoms of Wireless Coil Issues
Recognizing iPhone 13 Mini coil problems early saves time, reduces customer complaints, and lowers return rates for mobile wholesalers.
Look for these signs:
- Wireless charging only works intermittently
- The phone heats up but doesn’t charge
- It doesn’t detect any charger at all
- Physical damage or dislodged induction coil on teardown
If you’re consistently seeing these signs across inventory, it’s time to apply a wireless charge fix using a high-quality induction coil.
3. Tools and Setup for Safe Coil Replacement
Essential Tools:
- Heat mat or iOpener to remove the back glass
- Precision suction cups and opening picks
- Small Phillips and Pentalobe screwdrivers
- Plastic spudgers (metal can damage internal shielding)
- Replacement iPhone 13 Mini coil with integrated induction coil
- ESD-safe workstation and gloves
Creating a clean, grounded work area is key to handling sensitive electronics like the iPhone 13 Mini coil and installing a new induction coil safely.
4. Step-by-Step: Wireless Charge Fix for iPhone 13 Mini
Step 1: Power Down & Open the Back Glass
- Power off the device fully.
- Use a heat mat around 80°C to loosen adhesive around the rear glass.
- Gently pry with picks and lift the rear panel.
This exposes the internal iPhone 13 Mini coil assembly and battery—be careful not to flex the board.
Step 2: Disconnect Battery
Always disconnect the battery before beginning a wireless charge fix. Remove the screw holding the shield and gently lift the connector.
Step 3: Remove the Existing Coil
- Locate the existing iPhone 13 Mini coil assembly behind the logic board.
- Unscrew and remove any brackets securing the induction coil.
- Carefully peel the coil off the back housing—do not pull with force.
- Clean off any adhesive residue.
You’re now ready to install a new induction coil as part of the wireless charge fix.
5. Installing a New Induction Coil
Step 1: Align the Coil
Position the new iPhone 13 Mini coil using the original alignment marks on the back frame. Make sure the flex cable is not twisted or pinched.
Step 2: Secure & Connect
- Use OEM adhesive or double-sided tape designed for thermal tolerance.
- Screw back the shield bracket if required.
- Connect the induction coil cable to its port on the board.
Step 3: Reconnect Battery & Test
Before sealing the rear glass:
- Reconnect the battery.
- Place the iPhone on a wireless charger.
- Verify that the new iPhone 13 Mini coil allows for continuous charging.
If the charge initiates within 2–3 seconds and stays consistent, your wireless charge fix is successful.
6. Re-Seal and Finalize
Step 1: Apply New Adhesive
Apply heat-resistant adhesive to the back housing. Reapply the glass panel using gentle pressure. You can also use clamps to hold it in place for 10–15 minutes.
Step 2: Clean and Polish
Use microfiber cloths to clean smudges or fingerprints from the back. This step is especially important if you’re preparing refurbished inventory for resale.
7. Pro Tips for Wholesale Techs
Use OEM-Grade Parts
Not all iPhone 13 Mini coil replacements are equal. Always use verified, OEM-compatible induction coil assemblies. Lower-quality flexes fail quickly under heat.
Avoid Reusing Damaged Shields
If the coil shield or screws are corroded or bent, replace them. Poor shielding can cause future wireless charge fix issues or heat dissipation problems.
Maintain Coil Alignment
Alignment determines performance. A misaligned induction coil reduces charging speed or breaks the connection entirely.
8. Preventing Coil Issues in Future Inventory
You can reduce iPhone 13 Mini coil problems in future shipments by:
- Asking suppliers about previous wireless performance
- Testing all units wirelessly during intake
- Avoiding stacking phones in transit that could stress the back housing
- Including wireless charging tests in your refurbishing checklist
A proactive approach minimizes your need for a wireless charge fix and maintains quality control on the induction coil front.
9. Wireless Charging Coil Myths Debunked
Let’s clear up a few misconceptions:
- “Wireless charging always damages the phone.”
Only faulty coils or chargers cause long-term damage. - “All induction coils are universal.”
They’re not. The iPhone 13 Mini coil has size, shape, and voltage-specific characteristics. - “Once it fails, it can’t be fixed.”
A professional wireless charge fix can restore full function if done properly.
10. Troubleshooting After a Coil Replacement
Even after a perfect install, you might face:
- No Charging Detected: Check the induction coil connector and battery connector.
- Heating Without Charging: Likely a misaligned iPhone 13 Mini coil.
- Slow Charge: Test with different pads—some are low wattage or incompatible.
Use diagnostic tools to monitor current and voltage when applying the wireless charge fix to verify success.
11. When to Replace the Logic Board Instead
If:
- The new iPhone 13 Mini coil still doesn’t work
- The induction coil connector appears burnt
- No continuity in power flow exists even with known-good components
…it may be time to replace or repair the board. But always exhaust wireless charge fix efforts first—board-level work is expensive and risky.
12. Final Thoughts: Excellence in Every Fix
In the refurbished mobile wholesale space, trust matters. A failing iPhone 13 Mini coil can frustrate end-users and tarnish your brand—unless you handle it right.
By offering a consistent, expert-level wireless charge fix and using OEM or Grade A induction coil assemblies, you reduce returns, protect your reputation, and earn repeat business.
Make the iPhone 13 Mini coil a point of reliability—not risk—in your refurbished inventory. Know more.


